

Hardwood Floor Sanding and Polishing in Cardiff: What Affects the Price
The floor itself, not just the room size, shapes the cost of hardwood floor sanding and polishing in Cardiff. Timber type, existing damage, previous finishes and your preferred finish all affect the work involved. The price depends on the project and is provided after you request a quote.
It’s understandable to want a clear figure before deciding whether to restore a floor. But pine, hardwood and engineered boards respond differently to sanding, and the wrong approach can affect the result or reduce the floor’s remaining lifespan.
This guide explains how floor area, condition, wood type and finish choices affect the scope of a sanding project, and what dust-controlled sanding means for your home. You’ll also learn what to consider before restoring parquet or other timber floors in Cardiff and South Wales, so you can understand the work behind a tailored quote and make an informed decision.
Table of Contents
What actually affects floor sanding prices?
A floor’s area is only one part of a sanding quote. Its condition and construction also shape the work. A Cardiff parquet restoration, for example, may involve repairs, preparation and careful finish selection.
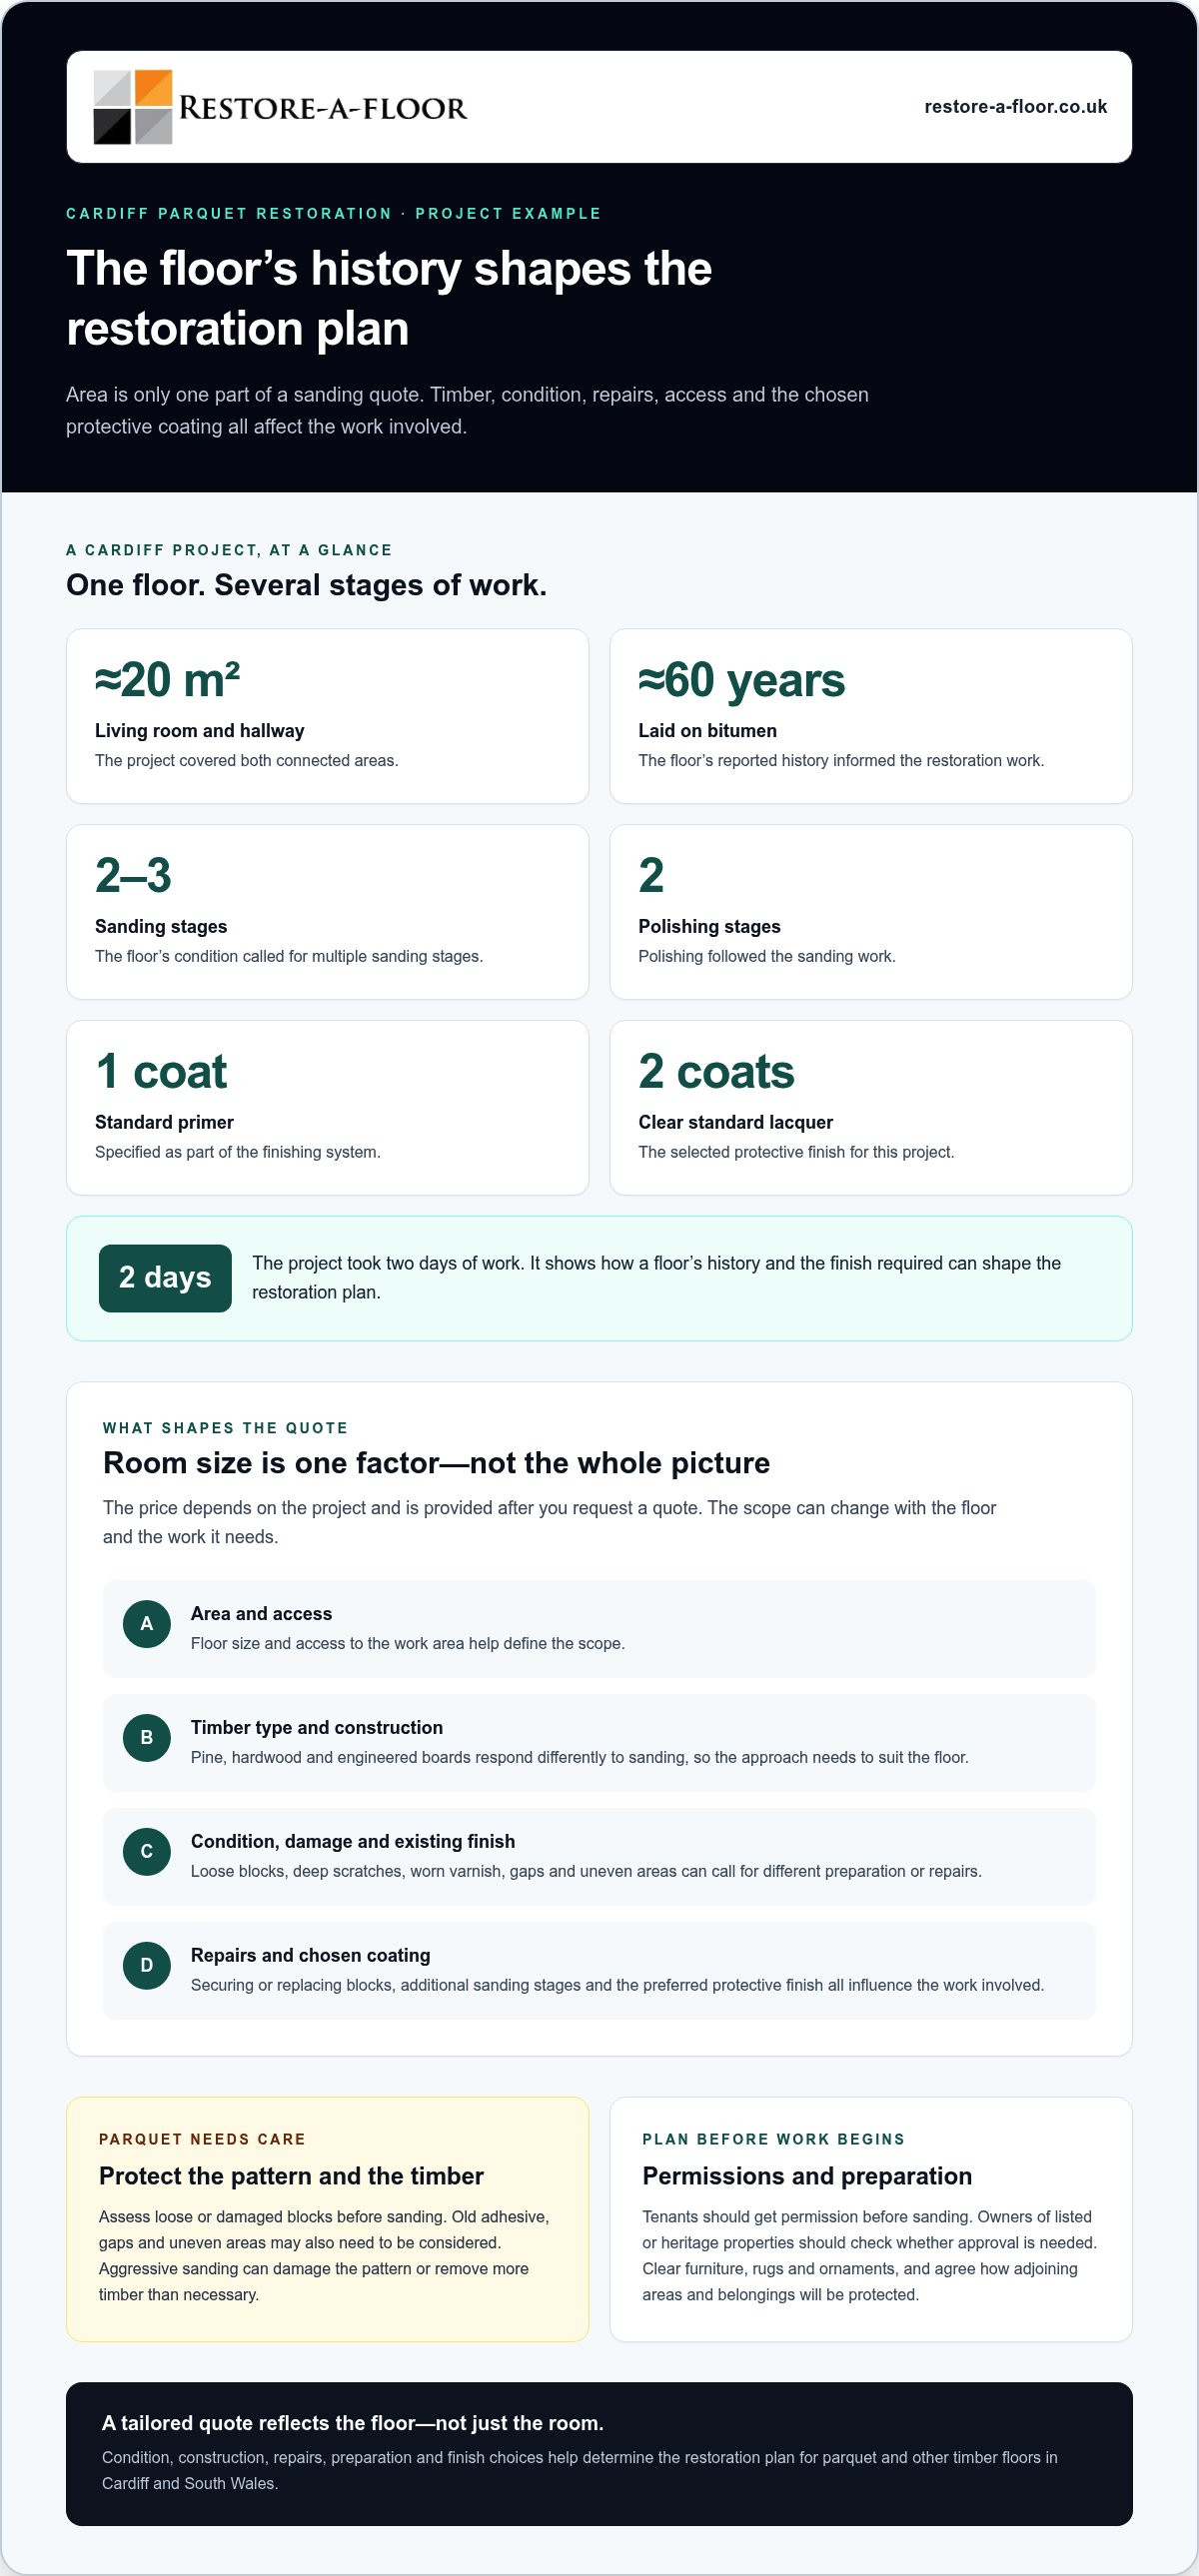
The price depends on the project and is provided after you request a quote. Key factors include the floor’s size, timber type, existing finish, damage, access and chosen protective coating. A parquet floor with loose blocks or deep scratches needs different preparation from sound boards with worn varnish. Repairs and additional sanding stages also affect the work involved.
One Cardiff parquet restoration covered roughly 20 m² across a living room and hallway. The floor had reportedly been laid on bitumen for around sixty years. Its condition called for two to three sanding stages, followed by two polishing stages. The specification also included one coat of standard primer and two coats of clear standard lacquer. The project took two days of work, illustrating how the floor’s history and required finish shape the restoration plan.
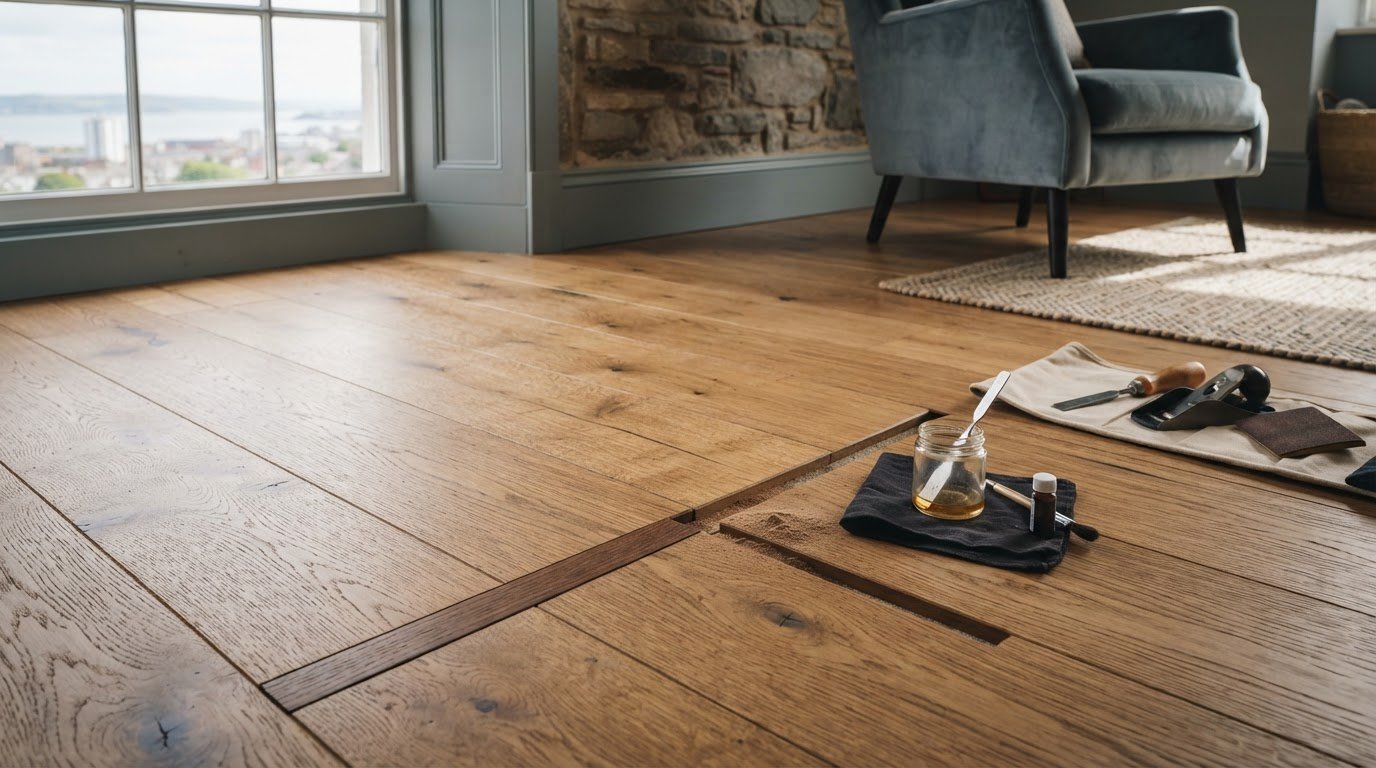
Parquet and herringbone floors need careful attention to their pattern and individual blocks. Before sanding, loose or damaged pieces need assessment; repairs may involve securing or replacing blocks before levelling the surface. A restoration plan should also account for old adhesive, gaps and uneven areas. These details matter because aggressive sanding can damage the pattern or remove more timber than necessary.
Tenants should get permission before sanding because the work permanently alters the flooring. Owners of listed or heritage properties should check whether approval is needed before sanding original floors. These considerations can affect preparation and timing, so include them when planning parquet restoration in Cardiff.
Preparing a Home for Floor Work
Clear furniture, rugs and ornaments from the room before the sanding team arrives. Remove items from shelves where vibration could dislodge them, and keep children and pets away from the work area. If the project covers a hallway and living room, such as the Cardiff example, clear access between both spaces. Agree how adjoining areas and belongings will be protected during preparation.
Returning the Floor to Use
Wait until the finish is ready for foot traffic before walking on the restored floor. The timing depends on the finish and its curing instructions, so distinguish surface drying from full curing. Keep shoes, rugs and furniture off the timber until the specified stage. When moving furniture back, lift it rather than dragging it across the new lacquer or oil.
Dust-free sanding
Floor sanding can create dust, while extraction equipment can minimise mess rather than eliminate it. Dust, machinery noise and careless sanding can also affect occupants, nearby rooms and the boards themselves.
Dust-Managed Sanding Process
A dust-managed process captures sanding debris close to where it is produced, then removes remaining dust before finishing. Start by clearing the room and protecting adjoining spaces, so dust is less likely to travel through doorways. After sanding, vacuum the floor and edges before applying a sealant, varnish or oil. This sequence supports a cleaner surface for the finish.
Good preparation matters in a Cardiff home with open hallways or connected living areas. Close doors to rooms outside the work zone and move soft furnishings away from the boards. Dust can settle on shelves and window ledges, so protect nearby belongings before machinery starts. After the final sanding pass, inspect corners and board gaps, where debris may collect.
Equipment and Dust-Free Technology
Professional floor sanding equipment uses abrasive belts or discs to remove old coatings and smooth timber. Dust extraction systems collect much of the debris as the machine works; edge sanders reach areas that larger machines cannot. “Dust-free” describes a dust-minimising method, not a promise that every particle disappears. Restore-A-Floor uses M-class dust filters on sanding operations to maintain a virtually dust-free environment.
Different tools suit different parts of a room. A larger sander covers open floor areas, while an edge machine works near skirting boards and in corners. Fine sanding creates smaller particles than a heavy first pass, so extraction and room protection remain important throughout. Before finishing, vacuuming helps remove loose dust that could affect the coating’s appearance.
Managing Dust, Noise and Damage Risks
UK Government guidance identifies hardwood dust as a cancer risk, particularly for the nose. Sanding machinery also creates noise, and prolonged exposure can make the work disruptive in an occupied home. Keep people and pets away from the work area, and plan access around the room being sanded. Dust extraction reduces mess, but careful site management is still important.
Over-sanding can leave an uneven surface, damage unsuitable or poor-condition flooring and shorten its lifespan. On boards with a thin wear layer or deep existing marks, the sanding approach needs particular care. Controlled passes and suitable abrasives help avoid removing more timber than necessary. For a tailored approach to wood floor sanding and refinishing, consider how the floor’s condition, dust control and final finish fit together.
Staining, colour blending and oiling
Stain changes the timber’s colour, while oil and other protective finishes affect its sheen and upkeep. The usual sequence is to prepare the bare wood, test the chosen colour, then seal or oil the surface.
Staining and Colour Blending
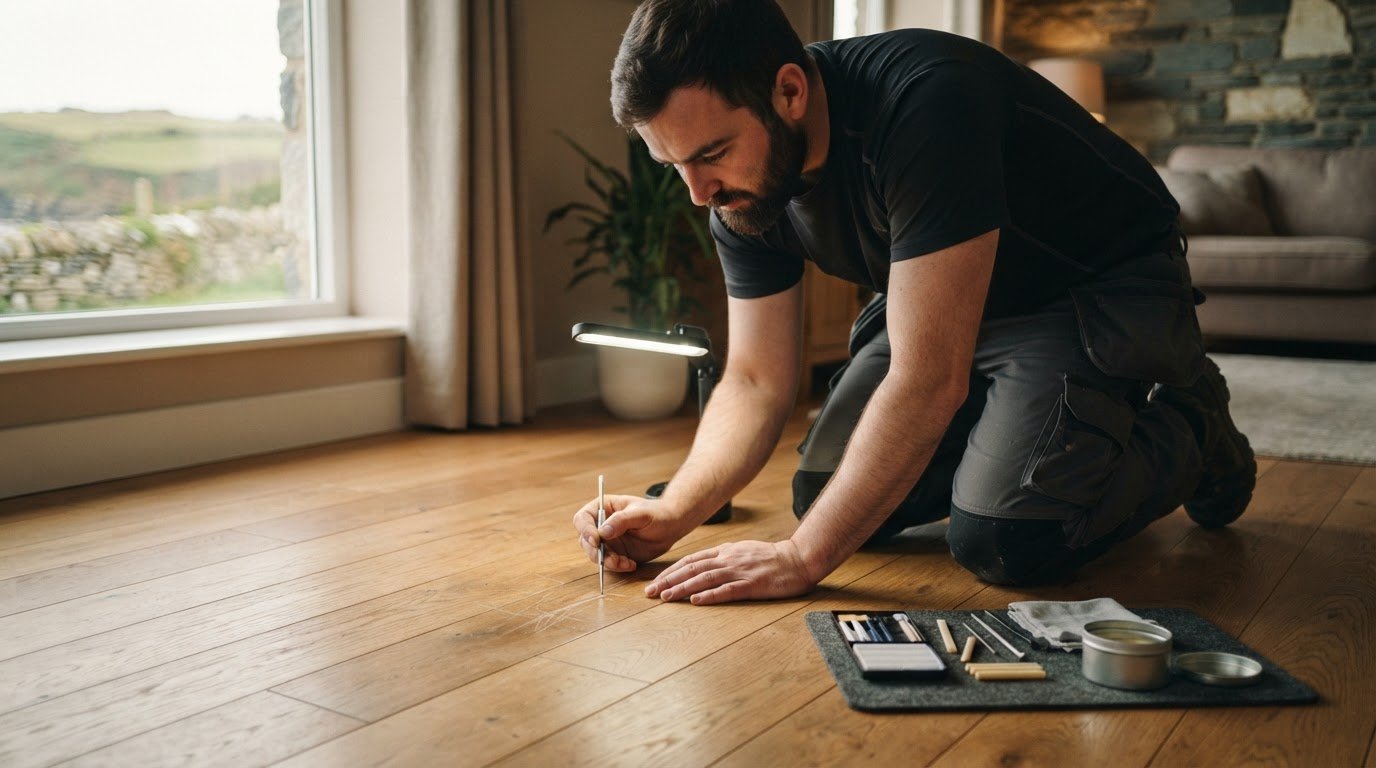
Stain highlights the grain while shifting the floor towards a chosen colour. The same product can look different across boards because timber grain, age and previous treatments vary. Test a sample on the actual floor after sanding, then assess it in daylight and the room’s usual lighting. This helps reveal whether adjoining boards blend or create unwanted contrast.
To assess colour blending, compare the test area with fixed features such as a skirting board, fireplace or adjoining timber threshold. A warm stain may sit comfortably beside honey-coloured wood, while a cooler shade can make the contrast more obvious. On parquet, the direction and arrangement of each block can also change how light catches the stained surface.
Existing stain needs to be removed or reduced before applying a new colour. Sanding can expose clean timber, but deep pigment may remain in the grain, joints or damaged areas. Inspect these details before selecting a replacement shade. Applying fresh stain over residue can create patchy colour, especially where boards have absorbed the earlier finish unevenly.
Work methodically: prepare the floor, remove sanding dust, apply a test stain and review the result before treating the full area. Keep the product and application method consistent across connected rooms. A colour change between a hallway and living room can look abrupt, particularly where there is no doorway or threshold to define the transition.
Oils and Protective Finishes
Oil and lacquer create different appearances and maintenance needs. Oil gives timber a natural-looking finish, while lacquer forms a protective surface layer. The choice affects sheen, feel and how everyday marks appear. Consider room use, cleaning habits and the look you want before settling on a coating.
Sealing follows preparation and any staining, helping protect the finished surface. Apply products in the correct order and allow each coat to dry according to its instructions. Dust, missed edges or uneven application can affect the final appearance, so inspect the surface in clear lighting between stages.
If the floor has an existing oil or stain, identify the current coating before refinishing. A new product may not bond well over incompatible residue. Remove the old finish through suitable preparation, then test the new stain and protective coating on a discreet section. This practical check helps confirm colour, sheen and compatibility before treating the whole floor.
Floor sanding and wood floor restoration in Cardiff and South Wales
Restoration starts with assessing the floor, then matching preparation and finish to its condition. Cardiff projects show why good workmanship depends on a considered approach, rather than sanding every floor in the same way.
Choosing a Reputable Cardiff Company
When choosing a floor sanding specialist, review experience with hardwood and engineered floors, examples of previous work, insurance and pricing transparency. These points help you judge whether the proposed method suits your boards, rather than relying on a general description of sanding.
Ask to see examples similar to your floor, such as parquet, herringbone or wide timber boards. A clear quote should explain preparation, repairs, sanding and the chosen finish, so you understand what the work covers. In a listed or heritage property, original floors may need particular care before sanding begins.
What the Professional Service Includes
A professional sanding and polishing service may include sanding, dust-controlled work, applying sealant, varnish or oil, and cleaning up afterwards. The precise sequence depends on the floor’s condition and the selected finish. Ask for the stages to be set out clearly, including any repairs needed before sanding.
Start by assessing the timber, existing coating, loose boards and visible damage. The restoration plan can then identify whether blocks need securing, whether sanding is suitable and which protective finish to apply. This step-by-step approach helps protect the floor and gives the finishing work a properly prepared surface.
A parquet floor in a Cardiff building dating from 1975 was restored in two days. Its condition guided the restoration approach, illustrating why a site assessment matters before estimating the work. The Cardiff example covered roughly 20 m² across a living room and hallway, with sanding stages adjusted to the condition of each section.
Project duration varies with room size, floor condition, repairs and finish. Sanding a medium room typically takes around 1 day, whilst a whole house typically takes several days to a week. A neglected Cardiff parquet floor required two days of work, showing how preparation and restoration needs affect the schedule.
South Wales properties can include modern timber floors and older parquet, each requiring a different restoration plan. The Cardiff project from 1975 demonstrates the value of adapting sanding to individual sections instead of treating the entire floor as uniform. A careful assessment links craftsmanship to the floor’s existing character and intended use.
Pine, hardwood and engineered wood floor sanding
Timber type determines how much sanding a wooden floor can safely take. Identifying the construction first helps shape a suitable restoration plan.
Sanding Different Wood Floor Types
Pine is a softwood, while oak and other hardwoods have different grain and surface characteristics. These differences influence how sanding marks appear and how carefully the finish needs to be removed. The floor’s condition matters too: deep scratches, worn coatings and uneven boards can require different preparation.
Engineered wood has a real timber surface over a layered base, so its sanding limit depends on the remaining wear layer. Sanding too deeply can expose the underlying construction. Laminate usually cannot be sanded because its decorative surface is not a solid timber layer. Identify the floor before choosing an approach.
Inspect exposed board ends, thresholds or an existing damaged edge to help distinguish solid timber from engineered flooring. For uncertain or painted floors, avoid aggressive test sanding. The key point is simple: the surface must have enough suitable timber for sanding, and the method must match its condition.
Time Needed for Hardwood Floor Work
A small room typically takes 2 - 4 hours to sand, while sanding a medium room typically takes around 1 day. A whole house typically takes several days to a week. These timings describe sanding, and additional preparation, repairs or finishing stages can affect the full schedule.
Room size is only one consideration. Difficult-to-remove varnish, damaged boards, parquet patterns and multiple rooms can add work. A Cardiff parquet restoration covering roughly 20 m² took 2 days of work, showing how the floor’s condition and required stages affect the timetable.
Ask for the work stages and expected sequence to be explained, including sanding, polishing and finish application. This makes it easier to plan room access and furniture arrangements. Follow the selected finish’s drying instructions before returning belongings to the floor.
Hand sanding can help with small or intricate areas, but the abrasive grit must progress appropriately. One recommended sequence starts with 40 grit, then moves to 100 or 120 grit. Use care: over-sanding can create an uneven surface, damage unsuitable or poor-condition flooring and reduce its lifespan.
Before deciding, establish whether the floor is pine, hardwood, engineered wood or laminate, then assess its visible wear and construction. For a project-specific plan, arrange wood floor sanding and refinishing suited to the timber and its condition.
Before work is agreed, confirm that the proposed sanding depth is appropriate for the engineered wood’s remaining wear layer, rather than assuming it can be treated like solid timber. For laminate, plan around preserving the existing decorative surface instead of sanding it. These checks help ensure the chosen approach respects the floor’s construction and avoids relying on an unsuitable sanding method.
Restore-A-Floor: Wood Floor Sanding & Refinishing
Restore-A-Floor provides wood floor sanding and refinishing for homeowners looking to restore timber floors with a finish suited to their boards and room. If you’re weighing up sanding, repairs or a change of finish, Restore-A-Floor can turn general price factors into a restoration plan tailored to your floor.
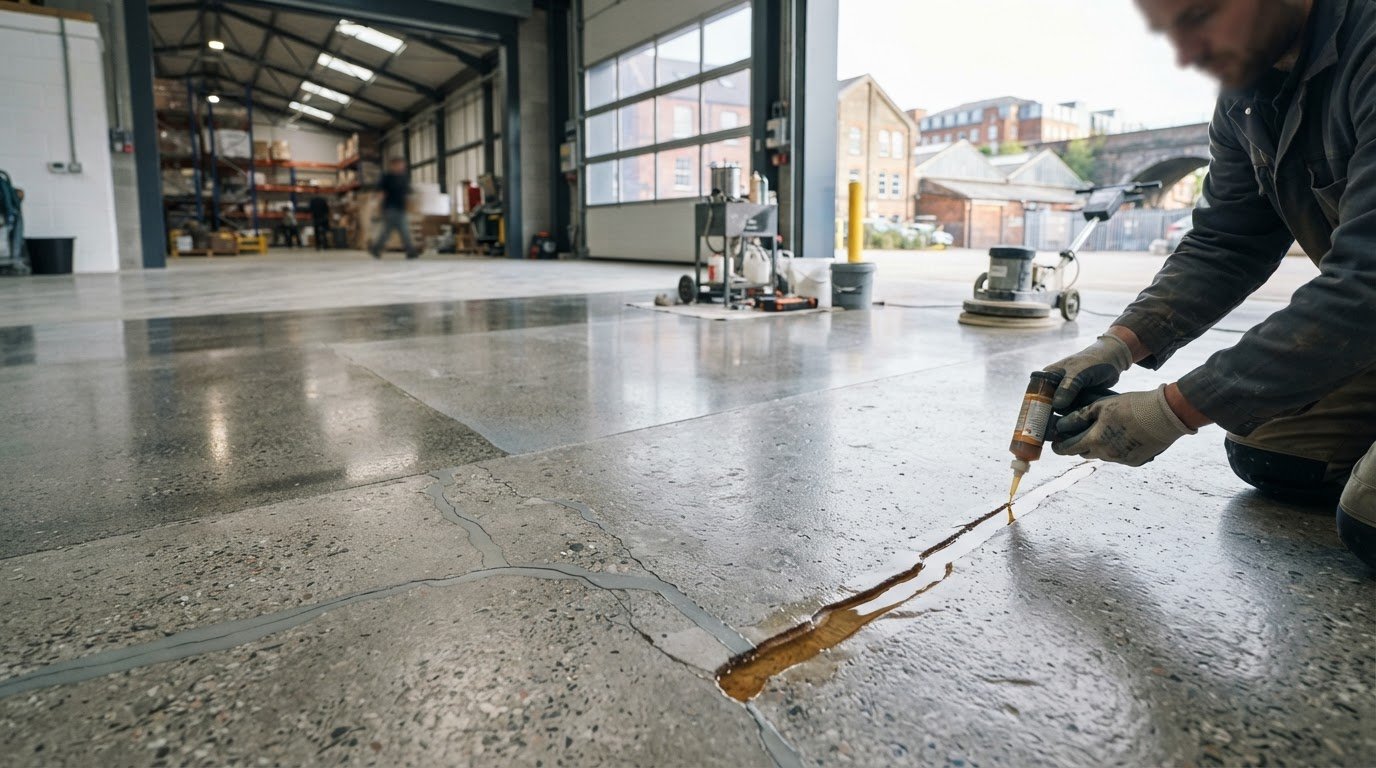
For parquet that needs a new layout rather than sanding alone, Restore-A-Floor also offers parquet floor supply and installation. Other services include concrete floor polishing and tiled floor restoration and cleaning, each suited to a different surface and requirement.
To discuss your flooring project, contact Restore-A-Floor or visit restore-a-floor.co.uk.
Plan the next step for your floor
Before committing to restoration, decide how you want the room to feel once the floor is back in use. A lighter finish, richer colour or refreshed parquet pattern can each shape the result, so discuss your preferred look and practical concerns when planning the project.
For hardwood floor sanding and polishing in Cardiff, Restore-A-Floor can help you choose an approach suited to the timber and how the space is used. Its services include Wood Floor Sanding & Refinishing, Parquet Floor Supply & Installation and Concrete Floor Polishing, offering options when a project involves more than one flooring surface.
A clear discussion about the floor’s condition and the finish you want is a constructive starting point. Contact Restore-A-Floor to discuss your floor and take the next step towards a considered restoration.
Frequently Asked Questions
Are there professional hardwood floor sanding and polishing services in Cardiff?
Yes, Restore-A-Floor provides hardwood floor sanding and polishing in Cardiff through its Wood Floor Sanding & Refinishing service. All sanding operations use M-class dust filters to help maintain a virtually dust-free working environment. The service suits timber floors that need a refreshed surface or a new finish. For connected rooms, plan how furniture and access will be managed during the work.
How much does hardwood floor sanding and polishing cost in Cardiff per square metre?
The price depends on the floor and the work required, and is provided after you request a quote. For hardwood floor sanding and polishing in Cardiff, area is one consideration; timber type, surface condition, repairs, access and finish choice also affect the scope. Sound boards may need different preparation from parquet with loose blocks or stubborn coatings. Include details about the floor and rooms in your quotation request.
What finishes are available for hardwood floors: oil, lacquer, or hardwax oil?
Oil, lacquer and hardwax oil are distinct finish options, each with a different appearance and maintenance approach. Oil gives timber a natural-looking result, lacquer forms a surface coating, and hardwax oil combines oil with wax components. Consider the desired sheen, room use and cleaning routine before choosing. A sample on the actual timber helps show how its colour and grain look in your room’s lighting.
Can engineered hardwood floors be sanded and refinished, and how many times?
Engineered hardwood can be sanded and refinished if its real-wood wear layer has enough material remaining. There’s no single safe number of sanding cycles for every engineered floor: the limit depends on veneer thickness, previous sanding and current condition. Check an exposed board edge or threshold to identify the construction, then assess the remaining timber before planning the work. Laminate usually cannot be sanded.
How long before a sanded and polished floor can be walked on or furnished?
Wait until the finish’s instructions say it is ready for foot traffic; surface drying may happen before full curing. Keep shoes, rugs and furniture off the floor until the specified stage.
Comments